SPLASH WELL BULKHEAD
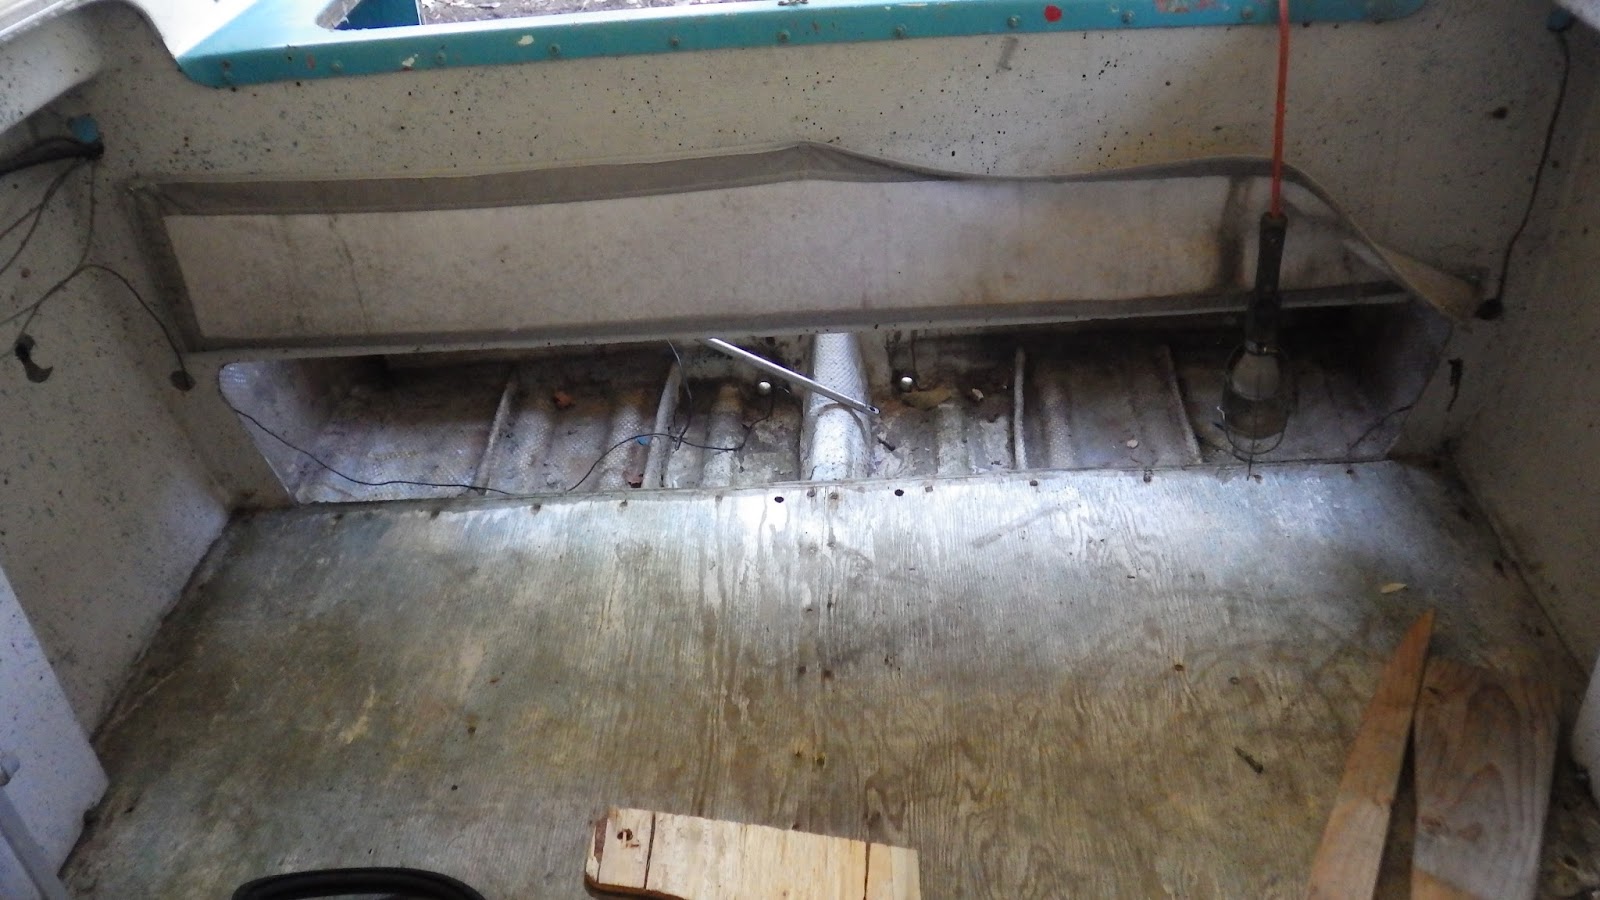
One of the previous owners cut out the lower portion of the bulkhead between the cockpit and the transom, then covered it with a removable canvas flap.
 |
| Cut-out in splash well bulkhead (looking aft from cockpit) |
I can see this would be an improvement if you were in big seas and taking on water, where the cockpit could drain directly into the bilge below the splash-well shelf. As you saw in the last posting, whoever did that failed to seal the plywood in the lower bulkhead, which led to the rot. There was a bilge pump back there when I got the boat, and considering that it used to be in Brookings there were likely excursions into rough water.
In my quest for originality, I’ve elected to fill in that area and restore the quaint hatch that accesses the aftermost bilge. I plan to use this boat in our calm inland seas, so won’t be bounding over waves and taking green water over the bow. I cut an insert out of ¼” A-C plywood and installed it by wedging it in place and bonding it with epoxy (after sealing the edges and both sides with epoxy). I used System Three GelMagic in a cartridge and filled the gap with a caulking gun. These are expensive, but much easier and neater than applying thickened epoxy with a putty knife. I’m sure I’ll find other uses for this product.
 |
| Bulkhead insert |
 |
| Starboard portion of bulkhead insert. Note resin coated panel replacing the rotted area shown in the last post. |
The little oval cutout in the middle of the panel provides access to the bilge, and duplicates the original size and shape. I cut the straight sections with an oscillating multi-tool, and found a coping saw with a 12" throat on Amazon to cut the curves. A little tedious, but the door will fit perfectly!
 |
| Cutting the hatch in the bulkhead insert. |
 |
| Insert coated with resin |
After the epoxy cured I bonded another ¼” panel to the aft portion of the existing one to stiffen the entire bulkhead. Bruce B. did this to his boat and it seemed to me a good idea, especially with my pieced-in bulkhead. For this I also used GelMagic (from a tub), applied to epoxy resin-coated wood with a toothed trowel. This panel was held in place with prop sticks and cured for a couple days in the hot box.
 |
| Bulkhead reinforcement. Right panel would later be waterproofed with epoxy resin. |
HOT BOX
This has been an effective way to quickly cure epoxy in sub-65 degree temperatures. I simply attached 1” ridged foam to the transom (using screws through a couple existing holes, and later with a rope on the outside of the transom after building up transom layers) and laid another piece on top of the splash well. For the insert on the splash well bulkhead I used another piece of foam on the cockpit side with an airspace to let warm air circulate to both sides of the insert. A space heater keeps everything inside around 80 degrees. It would be more efficient with insulation on the sides and bottom of the hull, but I didn’t go to the trouble. I figure I use up to 12 kWh a day (depending on outside temperature), which is about a buck’s worth of electricity. Considering what I’m spending on materials (and of course my valuable time!), it is a drop in the bucket.
 |
| Insulation on transom and top of splash well. |
 |
| Warm and cozy. |
 |
It ain't pretty, but does heat all the places that need to be for proper curing.
|


Comments
Post a Comment