Miscellaneous
Since the last post I’ve installed flotation and the splash
shelf, and am in the processes of finishing it. I’ll post details on this in a
week or so. This post will deal with some of other work I’ve been doing, mostly
while waiting for epoxy to cure.
Tanks
One feature of Skagit boats (at least those 20’ and over) I thought was pretty cool were integral fuel tanks constructed of fiberglass. Often referred to as “saddle
tanks” because they were located on each side amidships, they offered convenient filling from
gas caps located on the side decks. To me they were an attractive feature and I
was glad to see they were intact.

In the 1950’s fiberglass was becoming known as a miracle material for boat building. It didn’t need an elaborate wooden support system (i.e., keel, ribs, stringers), never rotted, could be constructed quickly and at low cost, and never needed painting. So, why not construct fuel tanks with it? Skagit Plastics did, along with many other builders until just recently, and they worked quite well. Many gas stations also had underground storage tanks constructed of fiberglass. The problems started occurring when ethanol was added to gasoline in the 1990’s. Soon thereafter boaters began having engine problems; the cause was black gunk in fuel systems and coating valves. Ethanol dissolves unreacted phthalates in fiberglass, which are carried with the fuel and form the deposits. Ethanol-free gas is typically available at marinas, but is not common on the street.
At first I considered cutting an access hole in each of the tanks, thoroughly cleaning them, then applying a couple coats of epoxy resin inside to seal the tanks. When I looked for definitive proof that epoxy was impervious to ethanol I came up short; most people said yes, but I never found a credible source with data to prove the point. Talking with old boat owners (that is, owners of old boats who happened also to be old) the universal opinion was to not take a chance, and replace the tanks. I was willing to take a chance with the epoxy thing but another facet of this issue was revealed: these boats are inherently stern-heavy, and any weight you can transfer forward will enhance performance and comfort. So I cut out the tanks and plan on locating portable plastic tanks in the forwardmost part of the cockpit, beneath the footrests at the helm stations. Not nearly as easy to fill as the original configuration, but worth it in the end.
 |
| The saddle tanks were held on by fiberglass tabbing that was easily cut away from the hull using an oscillating multi-tool. |
 |
| The scar. I'll need to grind off the fiberglass tabbing that attached the tank to the hull (an unpleasant job), then paint this area. |
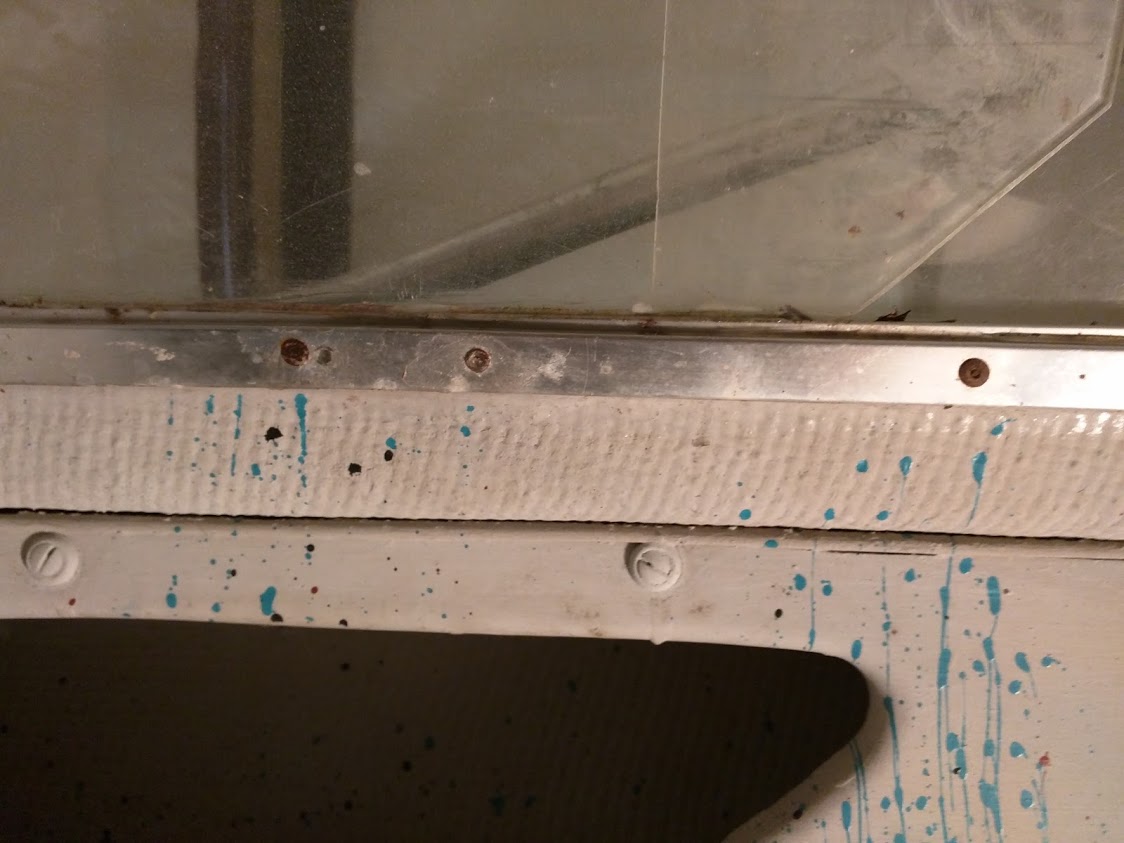
Since we are talking general Skagit stuff, note the black dots near the top of the scar above. These are screws (mild steel, so they've rusted) that attach clips to the outside of the hull. The aluminum trim slides into these (or vice-versa). I learned this from folks at NW Classic Boat Club (http://www.classicboatclub.com/) after posting a question about removing the trim.
If one were doggedly determined to remove the trim for restoration, the best way would be to carefully pry it off after grinding off the screw heads. Assuming you could get the trim off without damaging it, you would still need to sand it to remove blemishes and then polish to recover the shine. It seems to me there would be a significant risk of damaging it during this process, too. This is just not worth it to me at this point. The cabinetry under the seats would need to be removed to gain access to the screws, which would mean rebuilding the boxes because all the fasteners are are at least partially rusted. So, I plan to do my best at making the trim presentable where it lies.
If, in the future, if I feel the need to enter my Offshore into the national Fiberglass Boat Concourse d'Elegance than I may need to do the full Monty. If there ever were one of these events it should probably be held in Bellingham, WA, since the Bell Boy line made by Bellingham Shipyards produced some of the earliest recreational fiberglass boats built. If you've been paying attention you know that Howard Roberts was recruited from Bell Boy to set up and run Skagit Plastics. He designed the 20-footer line, as well as the Saratogan and other models.
Windows
The front and side windows in the cabin are acrylic
(Plexiglass). Both are framed in aluminum. The front windows are a little
crazed but don’t leak, so are fine for now. The side windows are in two parts:
the front one slides and the rear is fixed. I’ve had a couple 1950’s Austin-Healeys which had side curtains with the
same configuration; they were better than nothing, but tended to leak standing still and even more at speed.
 |
| Starboard windows |
 |
| Side window interior trim. |
That said, a boat cabin needs ventilation in warmer weather so opening windows are necessary. You pretty much have to remove the frames in order to get the windows out, and mine are scratched in places so I wanted to sand and polish them. The poor frame design became apparent when I tried to remove the frames. The outer section has a flange that overlaps the cabin structure; they are held in place with the inner frame by tiny machine screws (I think they are #4) that thread into a thin rim in the outer frame. They can’t take much torque and many were frozen, so I broke about half of them while removing the frames. A previous owner had also “improved” the system by adding a few sheet metal screws and rivets of mild steel, which rusted, so I had to drill them out.
 |
| Rivets were also used in the past to stop leaks. Of course they were mild steel, not aluminum or stainless. The broken screws had to be cut out of the frames with a Dremel tool. I’ve tested two different products to build the rim back up. Both are aluminum-impregnated materiels; one is an epoxy putty and the other is J-B Weld Marine. I’ve yet to thoroughly test which is the strongest, but early indications point to J-B Weld. I may be able to use #6 screws, but am not sure if I can tap the repairs so may end up using stainless sheet metal screws. I’ll report back on that after I paint the boat and reinstall the windows, probably in May. |
 |
| Threaded screws twisted off and channel cut away to remove them. |
 |
| Little bits of screws removed. |
Materials for Transom Repair
Here’s a list of items and their associated costs:
|
Note these are just estimates, but I tried to figure in materials I had before starting, and extras that I'll use in this or another project. I've left out a few incidentals like epoxy pumps, mixing containers, squeegees, etc.
Supplies needed for fiberglass work are few, and different
people have different approaches. Being an environmentalist I fully subscribe
to the notion of reduce, reuse, and recycle, and things I need to throw away
should have the lowest environmental impact possible. Here is a tableau of materials for the transom project.
 |
| Basic materials and tools |
From back left these are respirator with particle filters, GelMagic, epoxy resin, GelMagic cartridge, disposable gloves. Second row shows chip brush, toothed trowel, mixing container with putty knife, stirring sticks and squeegee, and measuring cups. The other items are angle grinder with a 40-grit flapper disk and plastic wrap.
My mixing cup of choice is is a maple syrup container (from Costco) with the top cut off. I know this seems odd, but discovered years ago that it is the perfect size and has a very smooth interior finish that epoxy doesn't stick to. I've reused these at least a half a dozen times; let the epoxy cure fully, then bend the sides and hammer on the bottom and the residue will peel right off. This also gives me an excuse to feed my breakfast passion: pancakes and waffles. Sourdough, oat, whole wheat, bran, I love them all. But I digress, thinking about tomorrow's breakfast.
I (or my wife) buy the measuring cups at thrift stores to accurately measure GelMagic or epoxy. They are easy to clean with lacquer thinner, isopropyl alcohol, or acetone. If they're too messy I sigh and throw them away. Jumbo popsicle sticks are about 2 cents apiece at Michaels when you buy the big box of 300.
I (or my wife) buy the measuring cups at thrift stores to accurately measure GelMagic or epoxy. They are easy to clean with lacquer thinner, isopropyl alcohol, or acetone. If they're too messy I sigh and throw them away. Jumbo popsicle sticks are about 2 cents apiece at Michaels when you buy the big box of 300.
Workplace
You may have seen in some of the photos that I have a fairly
primitive work area where the boat is located. It’s basically a table (B&D
Workmate) and gravel to set stuff on, but it has been enough.
 |
| Work area. Note removed gas tanks to the right. Seems like I could repurpose these someday, somehow. Suggestions welcome. |
My small garage
shop holds a table and band saw, floor drill press, and some bench-top tools. I
would love to have a large shop, but the aforementioned topography of our
property conspires against this. No picture of this, since it is currently cluttered and messy.


Jumbo popsicle sticks are free if you buy jumbo popsicles!! Give the tanks to Jack - he'll figure something out.
ReplyDeleteThanks for the update. Windows on boats - what a terrible but necessary invention.
As to all the screws and such - drill baby, drill!
Probably stainless is in your future.
Carry on .. launch date approaches.
Did you end up putting the fuel tanks under the seats? How did this impact the boat's balance? I'm currently working on a '58 Skagit Express Cruiser and am trying to decide where to locate the tanks.
ReplyDelete