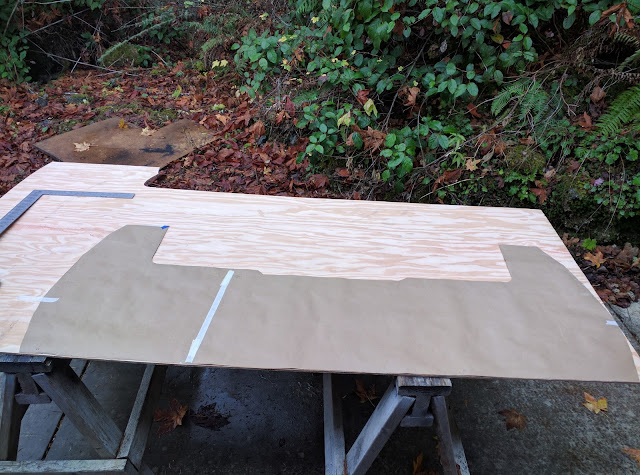
Transom III The new transom, with symmetrical cut-out and holes drilled for motor mount. Since the last post I bonded layers 3 and 4 to the transom! The 3 rd was ¼”, and just slid in behind the shoulder at the aftermost part of the center rib with a gap a bit less than ⅛”. The third ply in place. I later thoroughly filled the gap with GelMagic. The 4 th and last was the ½ “ thick plywood, which I cut out to accommodate the knee. I took special care to shape the edges so they fit flush to the curvature of the hull. For this I used a grinder with a 60-grit flapper wheel; it's easy to control and and quickly removes material. Shaping the edge of the last ply. To measure the amount of material to grind off I used a straight edge on a scrap of the appropriate size plywood, and measured the distance between the previous ply and the hull every three vertical inches. With the previous ply template laid on the plywood to be cut, I just added these measurements...

